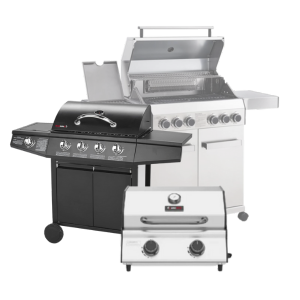


Barbecuing with loved ones is great, but a dirty grill can ruin the fun. We've all seen it—a greasy, burnt mess under the lid. But cleaning your BBQ doesn't have to be a nightmare. With a little effort, you can have it looking and cooking like new. Read on for easy tips, no matter what type of BBQ you have.
Why Cleaning Your BBQ is Essential
Regularly cleaning your BBQ is essential for several reasons. Maintaining hygiene and food safety is crucial, as a dirty BBQ can harbour bacteria that contaminate your food. Additionally, preventing flare-ups caused by grease build-up ensures safety, especially when using gas BBQs. Finally, extending the longevity of your BBQ through regular cleaning protects your investment by preventing rust and wear, allowing you to enjoy your BBQ for many seasons.
Important Things to Know Before Cleaning
Before you get started with cleaning your BBQ, there are a few key things you should know to avoid damage and make the process easier:

Use the Right Tools
Stick to soft brushes, grill brushes, and mild soapy water. Avoid using abrasive cleaners or steel wool that can damage the heat resistant paint of the body or delicate parts.
Wait for the BBQ to Cool Down
NEVER pour water directly on the coals to extinguish them as this may damage your barbecue. Use old cinder, sand or a small water spray.
Skip the Harsh Chemicals
Steer clear of oven cleaners, degreasers, and citrus-based cleaners—they can damage your BBQ’s surface and pose safety risks.
Dishwasher Use
Don’t assume that your BBQ parts are dishwasher safe unless specifically noted by the manufacturer—check the manual before cleaning this way.
Seasoning Tip
Regularly seasoning your BBQ helps prevent rust and keeps your grill non-stick for better cooking results. Want more info on seasoning? Check out our guide to seasoning your BBQ for all the details.
Step-by-Step Guide: Cleaning a Charcoal BBQ

Step 1: Let the BBQ Cool Down Completely
Before cleaning, make sure your BBQ is completely cool to avoid burns or damage. NEVER use water directly on hot coals, as this can damage your BBQ. Instead, cool coals gradually with old cinder, sand, or a light water spray. Once cool, start cleaning.
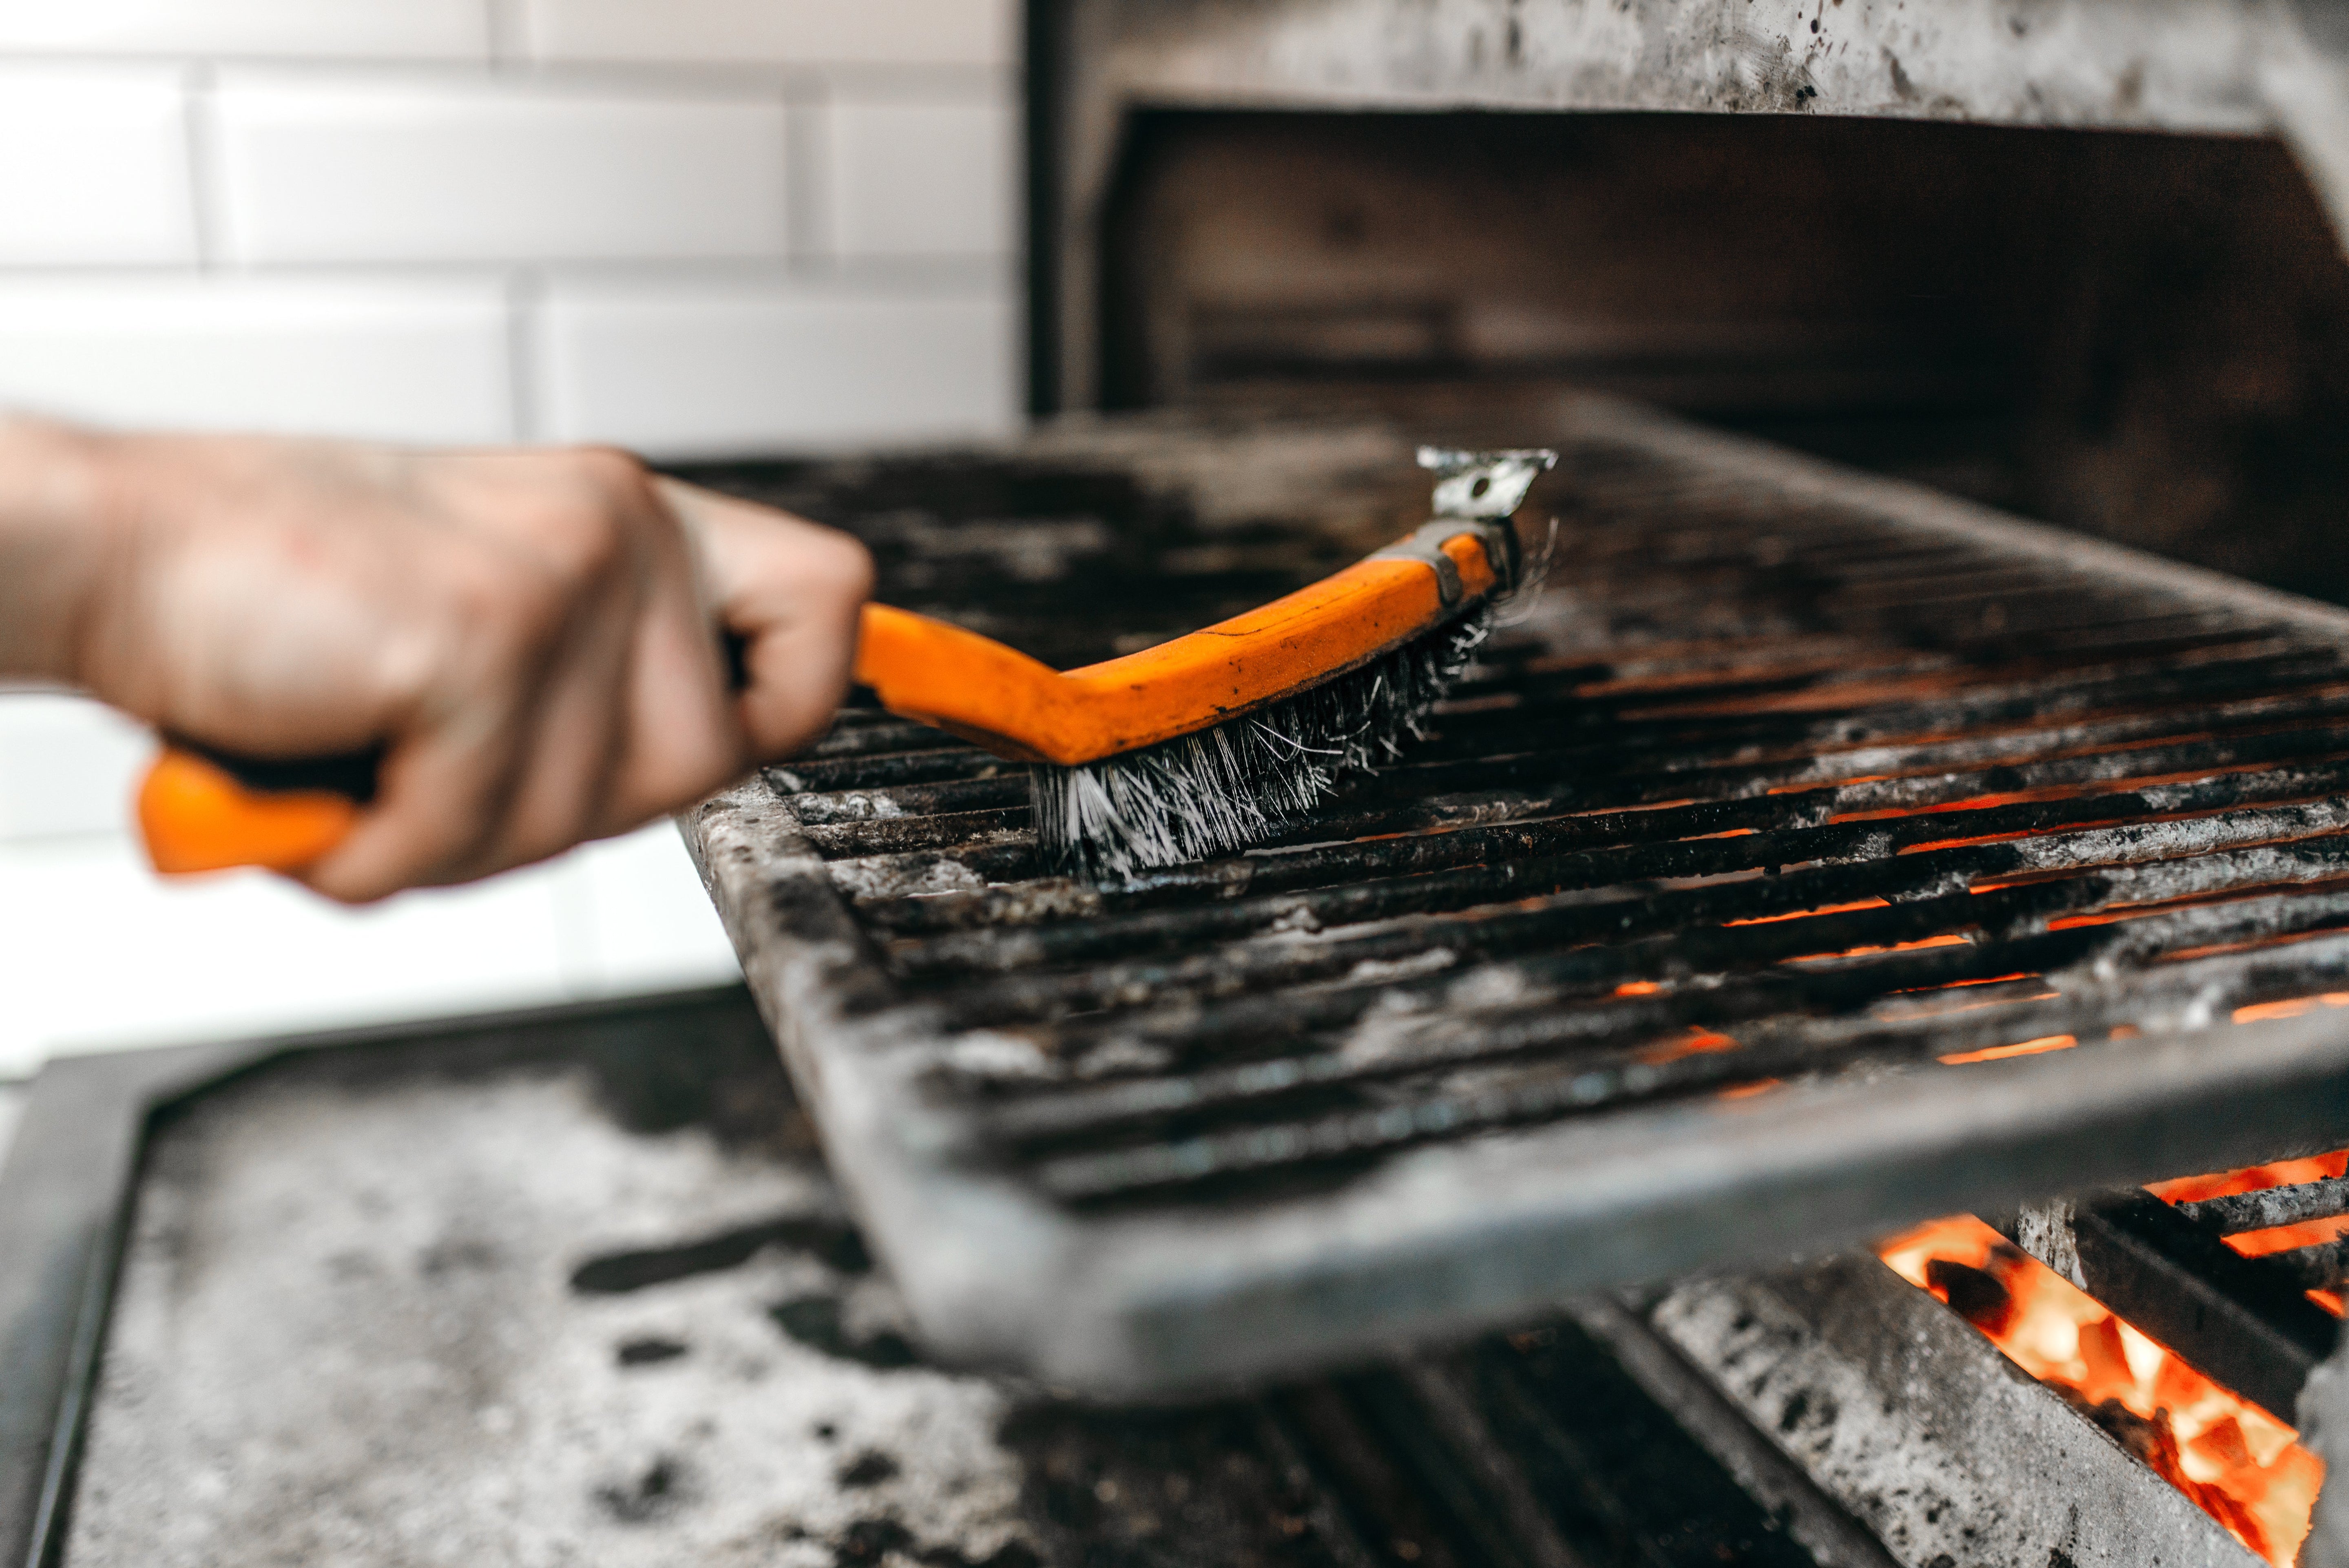
Step 2: Remove and Clean the Grill Grates
After your BBQ has cooled, remove the grill grates and soak them in warm, soapy water for 30 minutes. This will loosen stuck-on grime, making them easier to clean.
After soaking, use your cleaning tool of choice to scrub away the remaining residue. For cleaning grill grates, use tools like;
- Wire Brush: Ideal for heavy-duty scrubbing, especially on steel or cast-iron grates.
- Grill Scraper: Great for tackling thick layers of burnt-on food and grease.
- Soft Scouring Pad: If your grates have a more delicate coating or you want a gentler clean.
- Grill Stone Block: Perfect for removing tough residue without scratching the surface.
 Scrub the grates thoroughly, focusing on corners, edges, and grease build-up areas. Rinse with water to remove soap, and let them dry completely before putting them back on the BBQ. Apply a light coat of oil for added protection.
Step 3: Clean the Ash Tray and Charcoal Tray
The ash tray and charcoal tray, located under the grill grates, hold charcoal and collect ash and food residue. Regular cleaning is essential, as buildup can impact airflow and temperature control To clean, remove and empty the ashtray, then clean out the charcoal tray. Wipe both down with warm, soapy water, and dry completely.
Pro Tip: Line the charcoal tray with foil (with holes for ventilation) before each use for easier future cleaning.
Step 4: Wipe Down the BBQ Body
To keep your BBQ in top shape, regularly clean the inside and outside with warm soapy water and a soft sponge. Pay close attention to grease build-up and rust. Rinse with clean water and dry thoroughly to prevent rust.
Drying Tips for Damp UK Weather:
- Towel dry: Wipe off excess moisture with a dry towel.
- Air dry: Place your BBQ in a well-ventilated area.
- Hairdryer: Speed up drying in hard-to-reach areas.
Step 5: Reassemble and Check Airflow
Once all the parts are clean and dry, reassemble your BBQ by placing the ashtray, charcoal tray, and grill grates back in their positions. Ensure that the vents are clear from ash or grease so that proper airflow can be maintained during your next cookout.
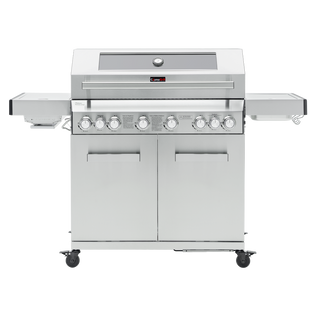
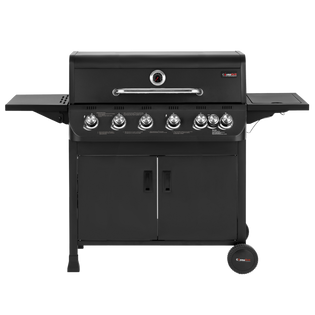
Step-by-Step Guide: Cleaning a Gas BBQ
Step 1: Disconnect the Gas
 Safety always comes first when cleaning a gas BBQ. Begin by turning off the gas supply at the source. Disconnect the gas tank entirely to avoid any risk of gas leaks or accidents during cleaning. This step ensures you can work on your BBQ safely and without the worry of any gas-related hazards.
Step 2: Let the BBQ Cool Down Completely
Just like with a charcoal BBQ, it’s crucial to let your gas BBQ fully cool down before cleaning. Attempting to clean a hot BBQ can result in burns. Be patient, and wait until every part of the BBQ is cool to the touch.
Step 3: Remove and Clean the Grill Grates and Flame Tamers
Soak grill grates and flame tamers in warm, soapy water for 30 minutes to loosen grime. Scrub them with a grill brush or cleaning pad, then rinse with clean water. Dry them completely to prevent rust, especially on steel components. Avoid abrasive scrubbers on stainless steel flame tamers.
Step 4: Clean the Burners
Burners are essential for gas BBQs and need regular cleaning. Food and grease can clog them, causing uneven heat.

Remove the burners and use a soft brush to clean off debris. Clear any clogged ports with a pipe cleaner or thin wire. Check for damage and replace any cracked or rusty burners.
Step 5: Clean the Grease Tray
The grease tray can rust and corrode if not cleaned properly. Carefully remove the tray and scrape off any grease or food particles with a spatula. Wash the tray with warm soapy water, rinse thoroughly, and dry completely before putting it back in the BBQ.
Step 6: Wipe Down the BBQ Body
Next, clean the BBQ's interior and exterior. Wipe down the inside and lid with warm, soapy water and a sponge or soft cloth. For the exterior, wipe it down and pay extra attention to the knobs and control panel. Rinse the entire BBQ with clean water and dry it completely to avoid rusting.

Pro Tip: Drying your BBQ in the UK can be tricky. Here are some tips:
Tips for Drying in UK Weather:
- Wipe away excess moisture with a towel.
- Place the BBQ in a sheltered spot with good air circulation.
- Use a hairdryer to blow-dry tricky areas.
Step 7: Reassemble and Fire It Up
After thoroughly cleaning and drying all components, reassemble your BBQ. Place the burners, flame tamers, and grill grates back in their correct positions. Once reassembled, fire up the BBQ on moderate heat for 15-20 minutes to burn off any residue and prepare it for your next use. This will also help evaporate any lingering moisture, preventing rust and keeping your BBQ in top condition.
Quick Tips for Removing Rust from Your BBQ
Rust can be a problem for BBQs, especially those left outside or not cleaned often. But, there are easy ways to remove rust and stop it from returning.

Use Anti-Rust Spray
If your BBQ is already rusty, use a black anti-rust spray to cover the rust and prevent it from spreading. This spray works on most BBQ parts, creating a protective coating that restores the look and function of your grill.
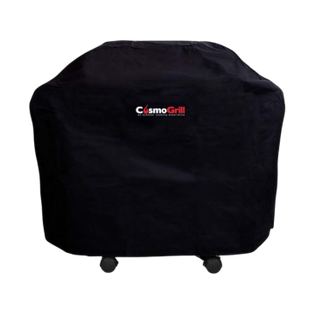
Keep it Covered
Always keep your BBQ covered when you're not using to prevent it from rusting. We recommend using our premium 600D Oxford fabric covers for proper protection and storage. Remember to periodically remove the cover to allow for ventilation.
Prevent Future Rust
To prevent future rust, clean your BBQ regularly and dry it completely after each use. Apply a light coat of oil to the grates after cleaning, then rinse thoroughly, dry completely, and season to add an extra layer of protection.
BBQ Cleaning Maintenance: Tips for After Every Use
To keep your BBQ in top condition and avoid major cleanups later on, it's important to maintain it after every use. A few quick steps will help you keep your grill in great shape and ready for the next cookout.
 Use Warm Water for Scrubbing
After each use, scrub the grill grates with warm soapy water and a soft brush. Warm water helps loosen stubborn food residue and grease, making cleaning easier.
Empty the Grease Tray or Ash Tray Regularly
Empty the grease and ash trays frequently, especially after long grilling sessions. This prevents grease fires and maintains airflow.
Season Your BBQ
Empty the grease trays after each use to avoid grease fires or reduced airflow. This simple step also helps protect your BBQ from rust and corrosion. After cleaning and drying your BBQ and parts, apply a light coat of oil to protect them from rust and create a non-stick surface.
Common BBQ Cleaning Mistakes to Avoid
Skipping regular BBQ cleanings is a big mistake. Leftover grime can lead to rust, corrosion, and food contamination. Using harsh chemicals or abrasive cleaners can damage your grill. Neglecting the drip tray and ash tray is also dangerous, as grease buildup can cause corrosion and fire hazards. Proper, consistent maintenance keeps your BBQ safe and in great shape.
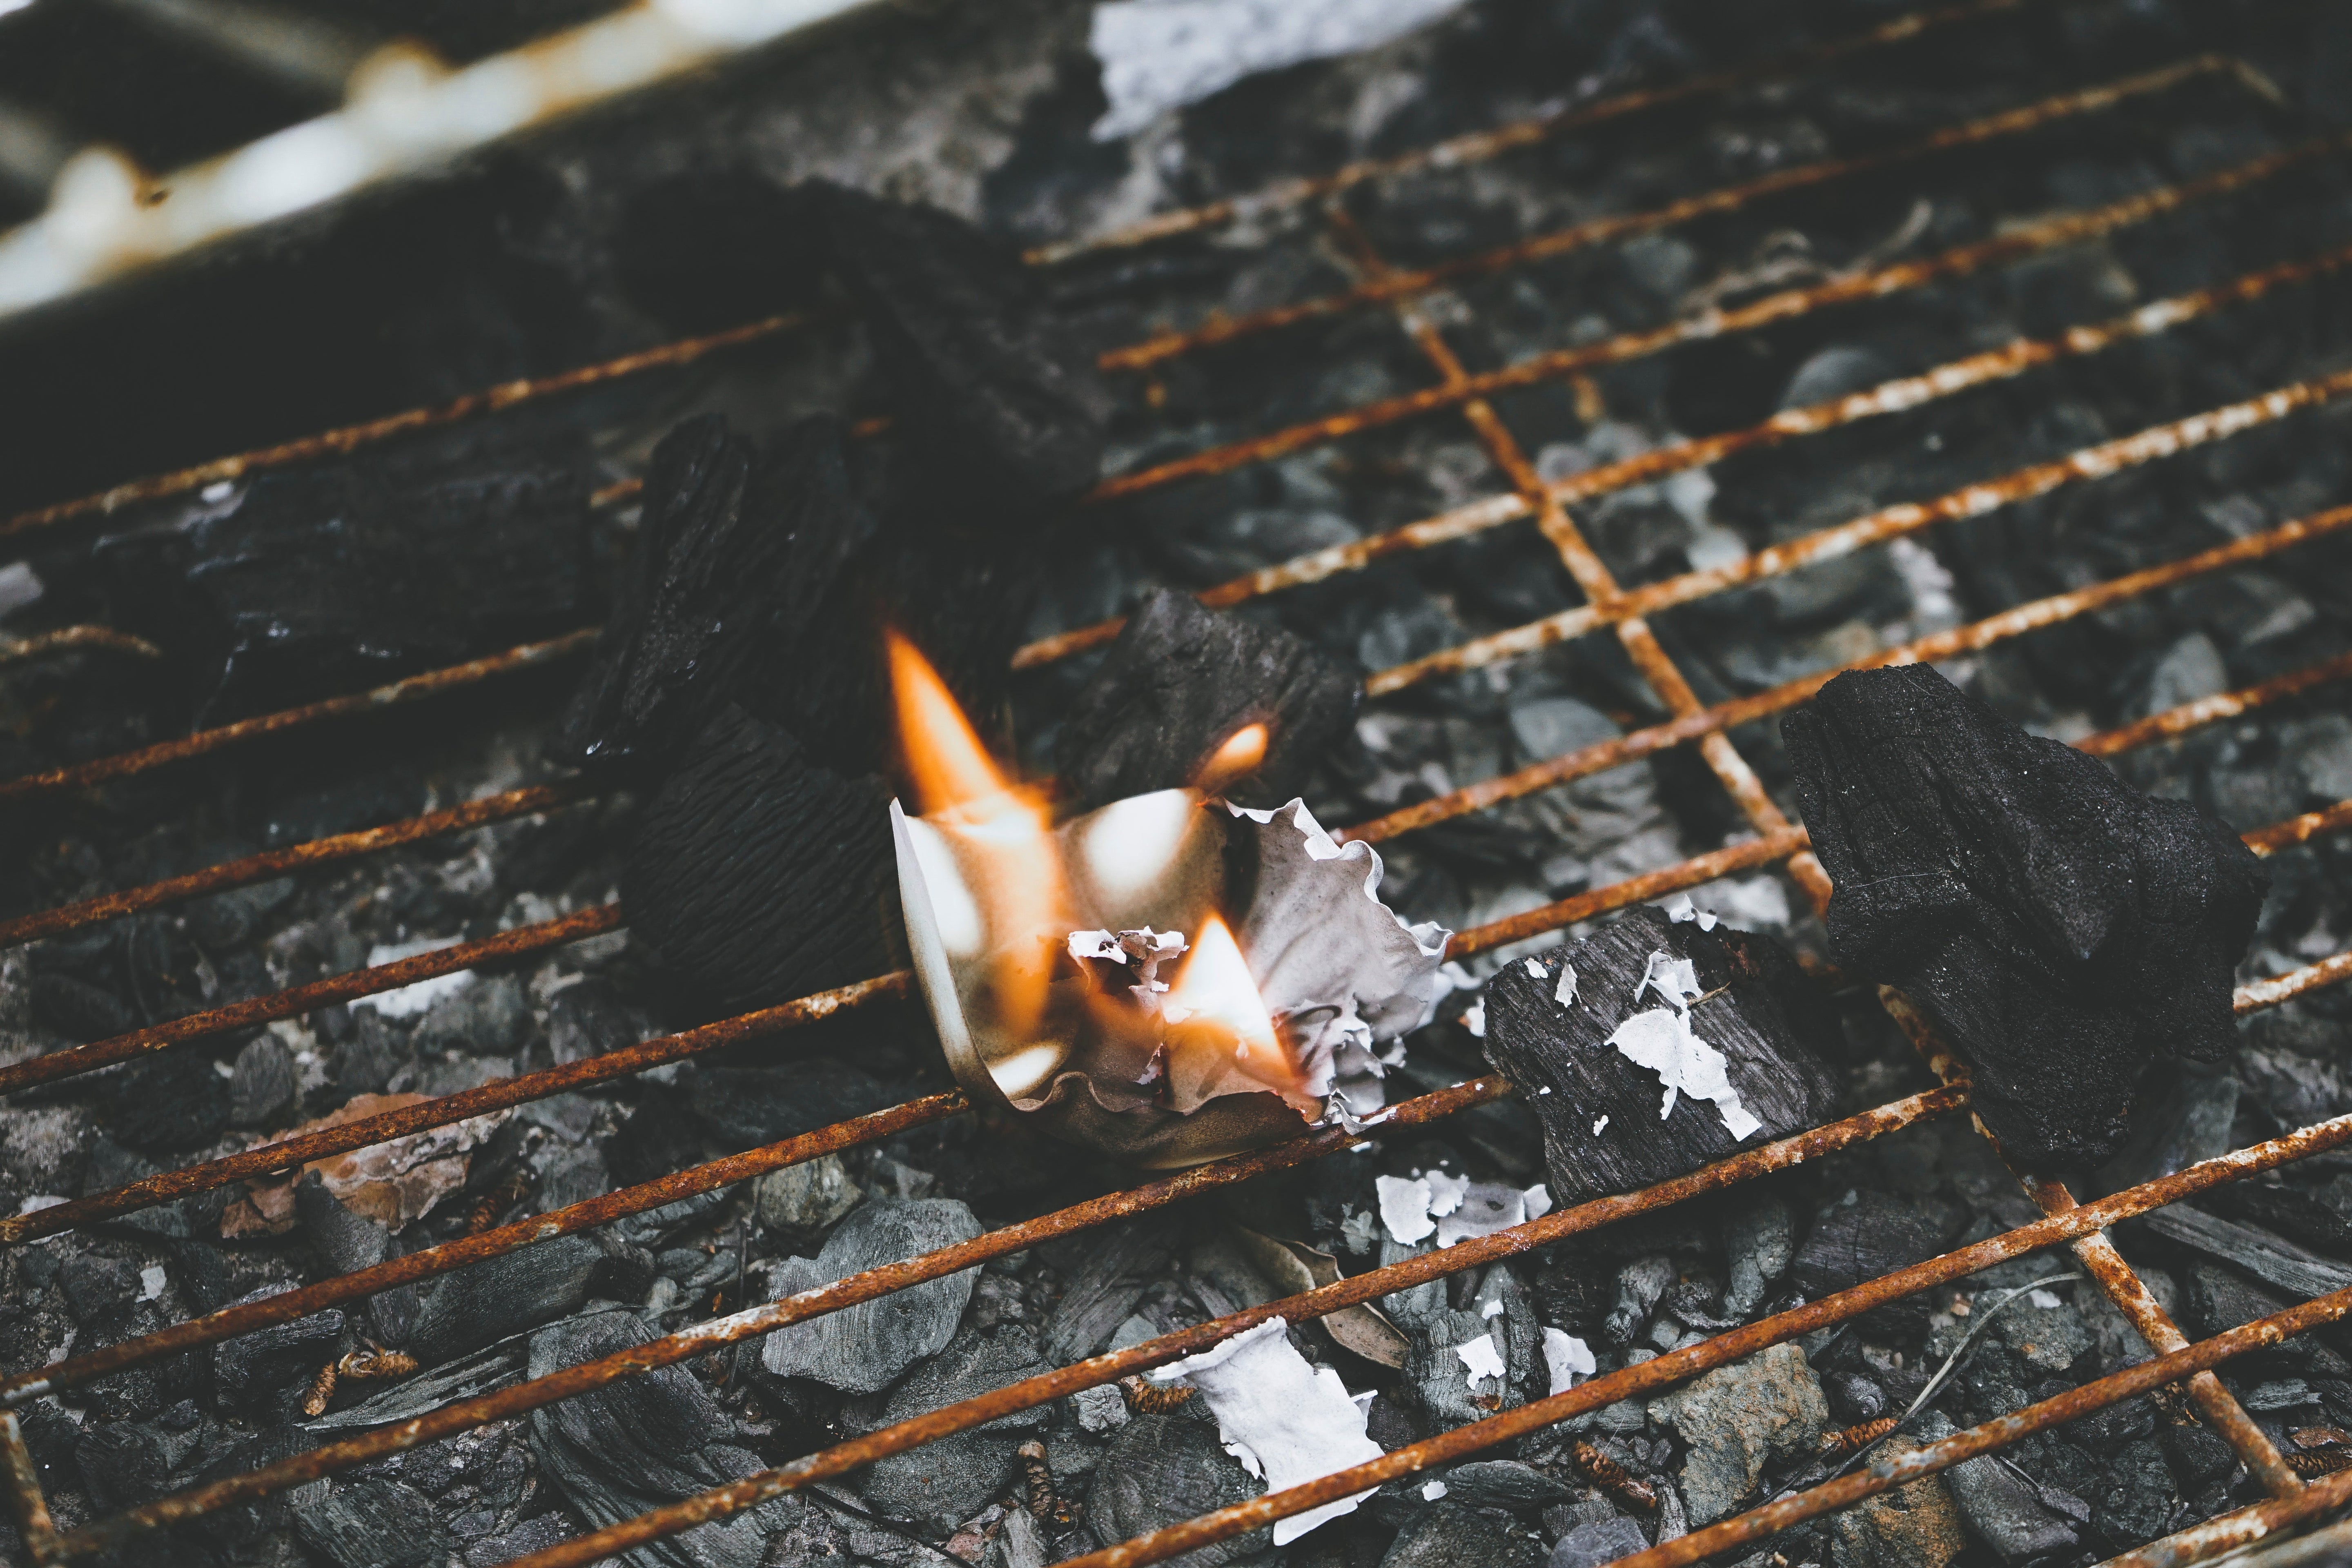
Cleaning Tips: Natural Cleaning Solutions for BBQs
If you prefer natural cleaning, try vinegar and baking soda. Combine them to create a non-toxic solution that cuts through grease and grime.

Apply the mixture to your grill grates, let it sit, then scrub with a brush. For a quick post-cooking cleanup, try steam cleaning: after using your BBQ, place a water-soaked newspaper on the grill, close the lid, and let the steam loosen any stubborn residue.
To clean your BBQ, use a water-soaked newspaper. Place it on the grill, close the lid, and let the steam loosen any stubborn residue. This method is both gentle on your BBQ and safe for the environment. Keeping your BBQ clean ensures better-tasting food and extends the life of your grill.

1 comment
I Have a 4+1 gas barbeque but am having trouble cleaning the enamelled grill gates – do you have any tips – thank you
Paul Turner
Leave a comment
This site is protected by hCaptcha and the hCaptcha Privacy Policy and Terms of Service apply.